Want cohesive branding when publishing Posts while there are multiple content creators utilizing backstitch Studio? Our 'Publish From' feature is perfect for you!
Download a PDF version here - Define "Send From" Default Settings
Step #1: Locating the "Publish From" Feature

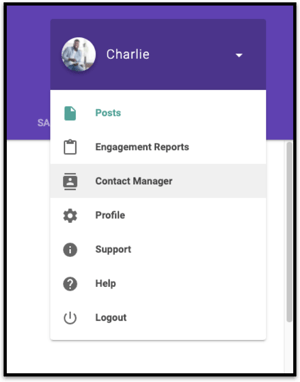
- In backstitch Studio, in the right hand corner, select [YourCompanyName].
- Select [Contact Manager] from the dropdown menu on the right hand side.
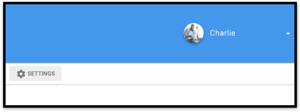
- To the left of the dropdown menu, select [Settings]

Step #2: Set the Default ‘Publish From’ for Publishing Posts

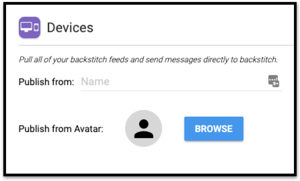
- Utilize the "Publish From” under Devices as a display name for publishing Posts to Devices
from Studio. Example: YourCompany Communications. - Select the [Browse] button to choose an image as your Avatar. It shows to the right of your author name on the published Post.
This shows as the display name in the bottom right corner of your Published Posts!
Step #3: Set the Default ‘Send From’ for Emails
- If you have not authorized the channels you utilize, do this before proceeding. To do this,
 click the [Authorize] button and fill out the corresponding information.
 - If you do not utilize Outlook or Gmail platforms for email, select [Authorize] the backstitch “Email” option.
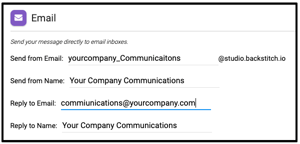
- The “Send From Email” and “Send From Name” are best utilized as a generic username that represents your company. Keep in mind, this only shows when Publishing to Email.
Pro Tip: We suggest utilizing “yourcompany_Communications”@studio.backstitch.io - the “Reply to Email” should be an email that is checked regularly.
